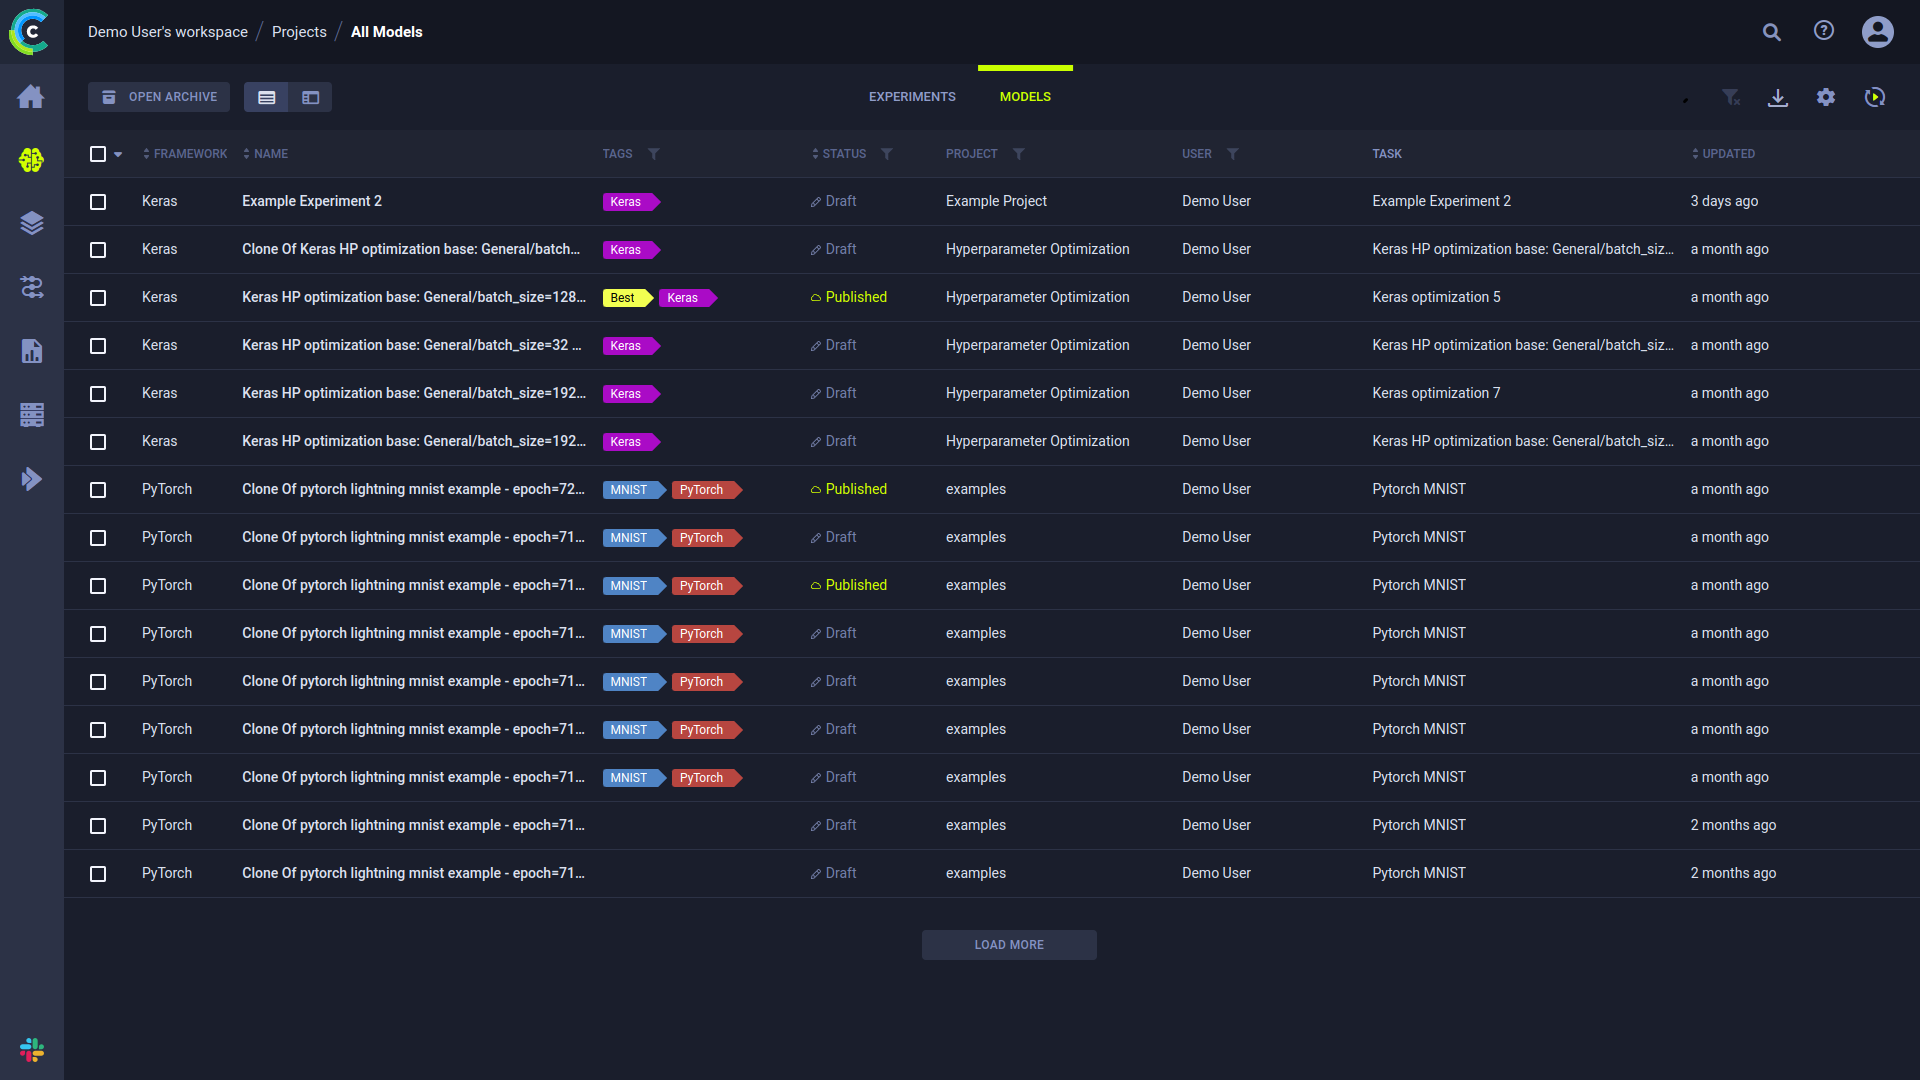
The Models Table
The models table is a customizable list of models associated with the experiments in a project. From the models table, view model details, and modify, publish, archive, tag, and move models to other projects.
View the models table in table view ![]() or in details view
or in details view ![]() ,
using the buttons on the top left of the page. Use the table view for a comparative view of your models according to
columns of interest. Use the details view to access a selected model's details, while keeping the model list in view.
Details view can also be accessed by double-clicking a specific model in the table view to open its details view.
,
using the buttons on the top left of the page. Use the table view for a comparative view of your models according to
columns of interest. Use the details view to access a selected model's details, while keeping the model list in view.
Details view can also be accessed by double-clicking a specific model in the table view to open its details view.
You can archive models so the models table doesn't get too cluttered. Click OPEN ARCHIVE on the top of the table to open the archive and view all archived models. From the archive, you can restore models to remove them from the archive, and permanently delete models.
You can download the models table as a CSV file by clicking ![]() and choosing one of these options:
and choosing one of these options:
- Download onscreen items - Download the values for models currently visible on screen
- Download all items - Download the values for all models in this project that match the current active filters
The downloaded data consists of the currently displayed table columns.
Models Table Columns
The models table contains the following columns:
| Column | Description | Type |
|---|---|---|
| FRAMEWORK | The model framework. The list includes all frameworks, including custom frameworks. | String |
| NAME | Model name. | String |
| TAGS | User-defined labels added to models for grouping and organization. | Tag |
| STATUS | The status of the model, which can be Draft (editable) or Published (read-only). | String |
| PROJECT | Name of the model's project | String |
| USER | The user who ran the experiment that created the model, or the user who imported the model. | String |
| TASK | The experiment (Task) name that created the model. | String |
| UPDATED | Elapsed time since the model was updated. Hover over the elapsed time to view the date and time. | Date-time |
| DESCRIPTION | The model description (not shown by default). | String |
| Metrics | Add metrics column (last, minimum, and/or maximum values). Available options depend upon the models in the table. | Varies according to models in table |
| Metadata | User defined metadata key column. Available options depend upon the models in the table. | String |
Customizing the Models Table
The models table is customizable. Changes are persistent (cached in the browser) and represented in the URL, so customized settings can be saved in a browser bookmark and shared with other ClearML users to collaborate.
Customize the table using any of the following:
- Dynamic column order - Drag a column title to a different position.
- Resize columns - Drag the column separator to change the width of that column. Double-click the column separator for automatic fit.
- Changing table columns
- Show / hide columns - Click
 > mark or clear the checkboxes of columns to show or hide.
 - Add custom columns - Click + METRICS or + METADATA to add metric / metadata columns to the main column list. Added columns are by default displayed in the table. You can remove the custom metadata columns from the main column list or the column addition window.
- Show / hide columns - Click
- Filter columns - By metadata, metric, ML framework, tags, user
- Sort columns - By metadata, metric, ML framework, description, and last update elapsed time.
The following models-table customizations are saved on a per-project basis:
- Columns order
- Column width
- Active sort order
- Active filters
- Custom columns
If a project has subprojects, the models can be viewed by their subproject groupings or together with all the models in the project. The customizations of these two views are saved separately.
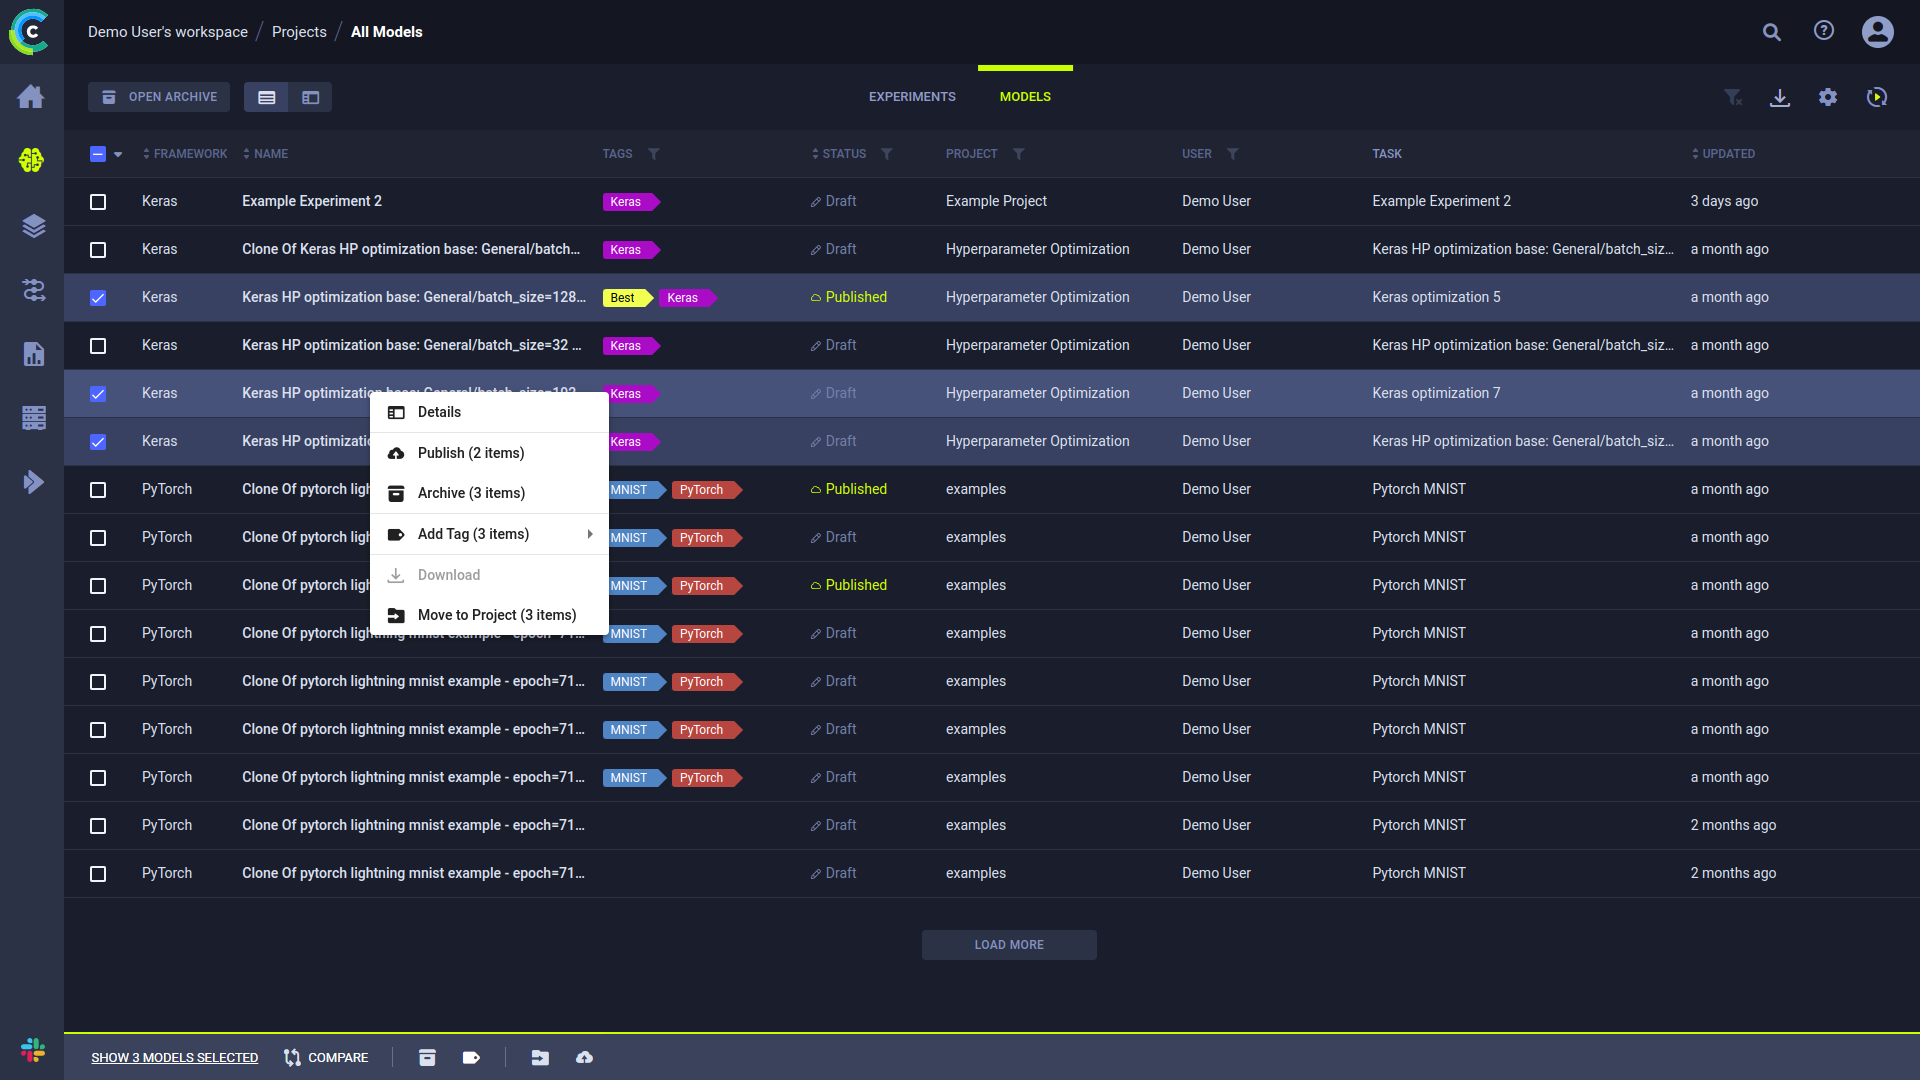
Model Actions
The following table describes the actions that can be done from the models table, including the states that allow each feature. Model states are Draft (editable) and Published (read-only).
Access these actions in any of the following ways:
- In the models table, right-click a model, or hover over a model and click
 to
open the context menu
to
open the context menu - In a model's info panel, click the menu button

- Through the batch action bar, available at screen bottom when multiple models are selected
| ClearML Action | Description | States Valid for the Action |
|---|---|---|
| Details | View model details, which include general information, the model configuration, and label enumeration. Can also be accessed by double-clicking a model in the models table | Any state |
| Publish | Publish a model to prevent changes to it. Published models are read-only. If a model is Published, its experiment also becomes Published (read-only). | Draft |
| Archive | Move model to the project's archive. | Any state |
| Restore | Action available in the archive. Restore a model to the main model table. | Any state |
| Delete | Action available in the archive. Permanently delete the model. This will also remove the model weights file. Note that experiments using deleted models will no longer be able to run. | Any state |
| Add Tag | Tag models with color-coded labels to assist in organizing work. See tagging models. | Any state |
| Download | Download a model. The file format depends upon the framework. | Published |
| Move to Project | Move a model to another project. | Any state |
| Compare | Compare selected models (see Comparing Models). | Any state |
| Custom action | The ClearML Enterprise Server provides a mechanism to define your own custom actions, which will appear in the context menu. See Custom UI Context Menu Actions. | Any state |
Some actions mentioned in the chart above can be performed on multiple models at once. Select multiple models, then use either the context menu, or the bar that appears at the bottom of the page, to perform operations on the selected models. The context menu shows the number of models that can be affected by each action. The same information can be found in the bottom menu, in a tooltip that appears when hovering over an action icon.
Tagging Models
Tags are user-defined, color-coded labels that can be added to models (and experiments), allowing to easily identify and group of experiments. A tag can show any text, for any purpose. For example, add tags for the type of remote machine experiments execute on, label versions of experiments, or apply team names to organize experimentation.
- To Add tags and to change tag colors:
- Click the experiment > Hover over the tag area > +ADD TAG or
(menu)
- Do one of the following:
- Add a new tag - Type the new tag name > (Create New).
- Add an existing tag - Click a tag.
- Change a tag's colors - Click Tag Colors > Click the tag icon > Background or Foreground> Pick a color > OK > CLOSE.
- Click the experiment > Hover over the tag area > +ADD TAG or
- To remove a tag - Hover over the tag > X.
Filtering Columns
Filters can be applied by clicking ![]() on a column, and the relevant filter appears.
on a column, and the relevant filter appears.
There are a couple filter types:
- Value set - Choose which values to include from a list of all values in the column
- Tags - Choose which tags to filter by from a list of all tags used in the column.
- Filter by multiple tag values using the ANY or ALL options, which correspond to the logical "AND" and "OR" respectively. These options appear on the top of the tag list.
- Filter by the absence of a tag (logical "NOT") by clicking its checkbox twice. An
Xwill appear in the tag's checkbox.
Once a filter is applied to a column, its filter icon will appear with a highlighted dot on its top right
(![]() ).
).
To clear all active filters, click ![]() in the top right corner of the table.
in the top right corner of the table.