Working with Frames
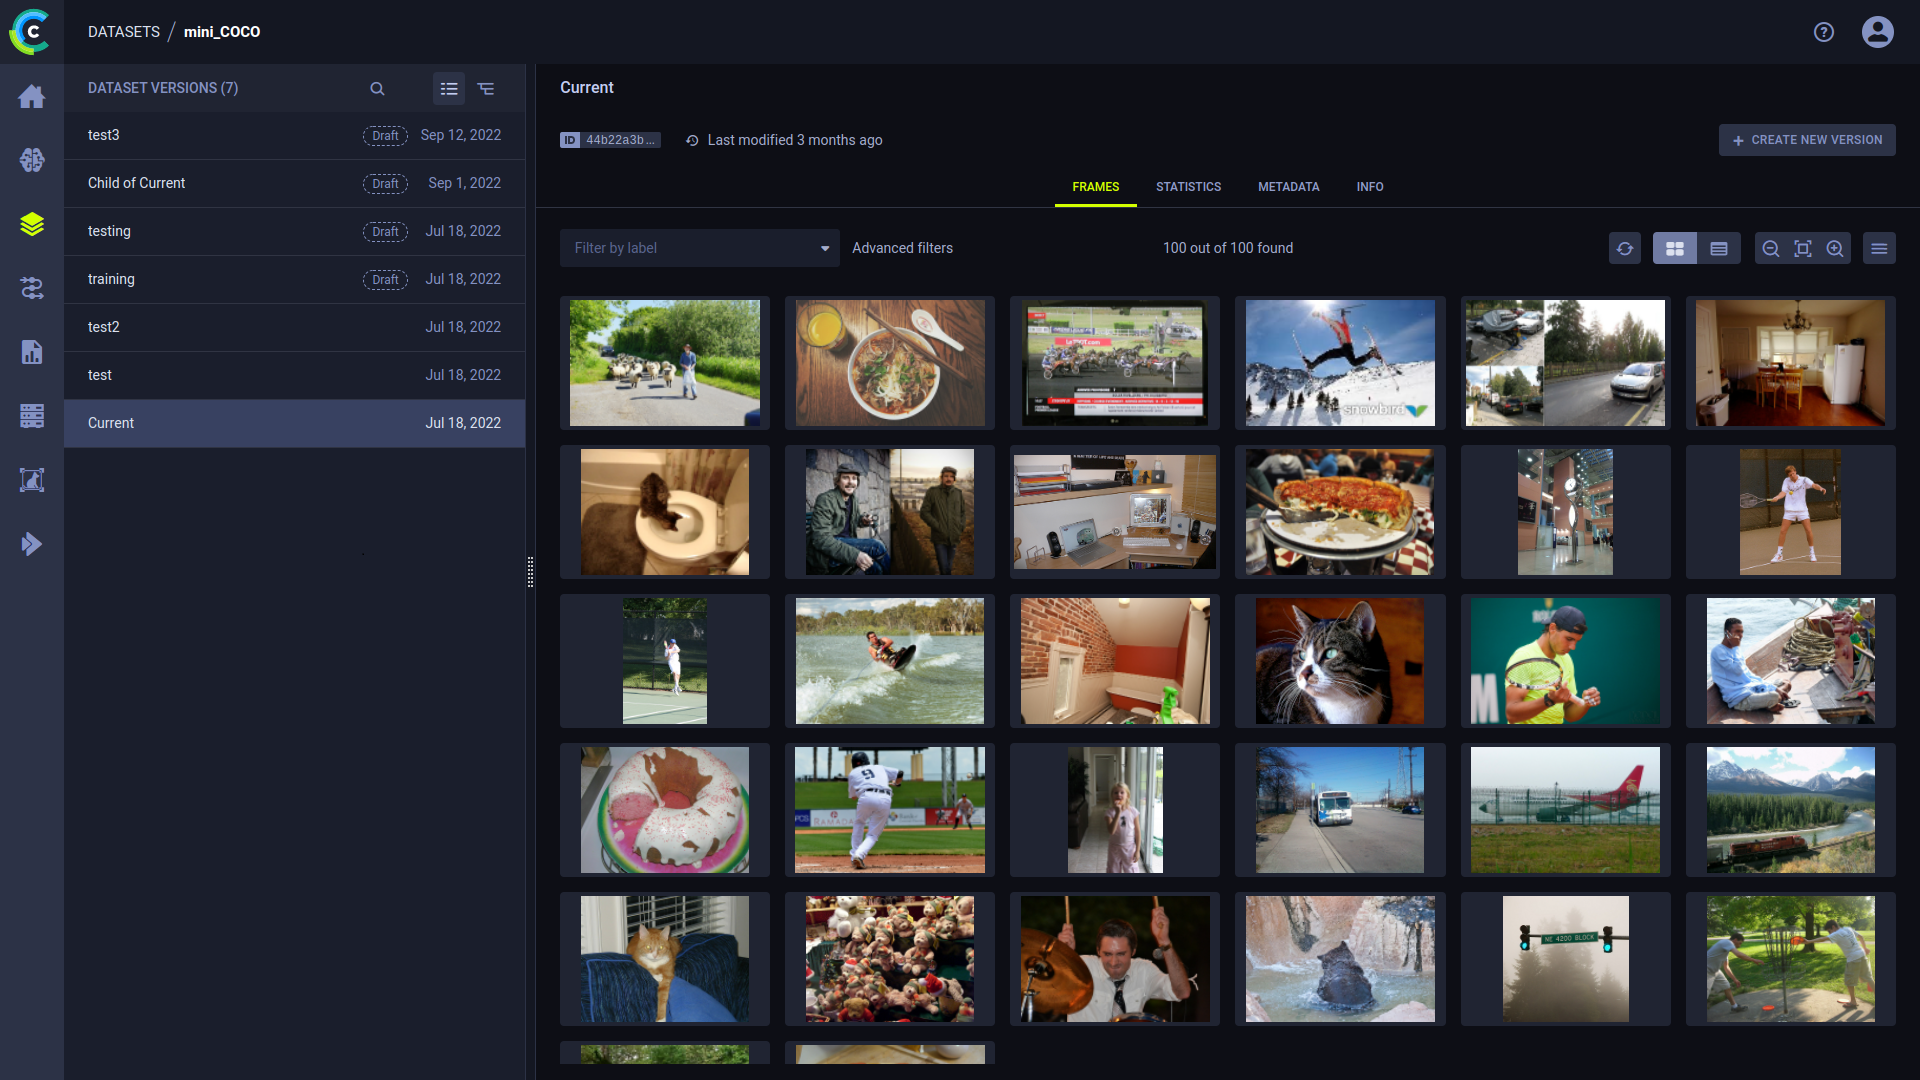
View and edit SingleFrames in the Dataset page. After selecting a Hyper-Dataset version, the Version Browser shows a sample of frames and enables viewing SingleFrames and FramesGroups, and editing SingleFrames, in the frame viewer. Before opening the frame viewer, you can filter the frames by applying simple or advanced filtering logic.
Frame Viewer
Use the frame viewer to view and edit annotations (ROIs and frame labels), frame details (see frames), and frame metadata, as well as view frame masks of your dataset version frames.

Frame Viewer Controls
Use frame viewer controls to navigate between frames in a Hyper-Dataset Version, and control frame changes and viewing.
| Control Icon | Actions | Shortcut |
|---|---|---|
| Jumps backwards ten frames | CTRL + Left arrow | |
| Go to the previous frame containing a non-filtered annotation. The filter is the minimum confidence level setting. If the confidence level filter is set to zero, any frame containing annotations matches the filter. | ||
| Go to the previous frame | Left arrow | |
| Go to the next frame | Right arrow | |
| Go to the next frame containing a non-filtered annotation (same filter as | ||
| Jump forwards ten frames | CTRL + Right arrow | |
| Reload the frame. | ||
| Undo changes. | Ctrl + Z | |
| Redo changes. | Ctrl + Y | |
| Autofit | ||
| Zoom in | + or Ctrl + Mouse wheel | |
| Zoom out | - or Ctrl + Mouse wheel | |
| Percentage textbox | Zoom percentage | |
| Copy frame URL. A direct link to view the current frame | ||
| Refresh version preview |
Additional Keyboard Shortcuts
General Controls
| Control | Action |
|---|---|
| Hold Spacebar + Press and hold image + Drag | Move around image. NOTE: If using a touchpad, this only works if the Disable touchpad while typing setting is turned off |
| Esc | Escape frame viewer and return to dataset page |
General Annotation Controls
| Control | Action |
|---|---|
| Delete | Remove annotation |
| Alt + ] / [ | Choose a default ROI label by navigating between previous / next labels |
| Shift + M | Edit metadata |
| Shift + Tab | Previous annotation (use after clicking an annotation) |
Mode-specific annotation controls
| Control | Mode | Action |
|---|---|---|
| Hold Shift | Key points ( | While holding Shift, add new points to the ROI by left clicking, and move a single point by dragging it with your mouse |
| Enter | Key points ( | Complete annotation |
| Esc | Key points ( | Cancel annotation process |
Viewing and Editing Frames
To view / edit a frame in the frame editor
- Locate your frame by applying a simple frame filter or advanced frame filter, and clicking LOAD MORE, if required.
- Click the frame thumbnail. The frame editor appears.
- Do any of the following:
- View frame details, including:
- Frame file path
- Dimensions of the image or video
- Frame details
- Frame metadata
- Annotations
- Frame objects - Labeled Regions of Interest, with confidence levels and custom metadata per frame object.
- Frame labels - Labels applied to the entire frame, not a region in the frame.
- Optionally, filter annotations by confidence level using the Minimum confidence slider.
- Add, change, and delete annotations and frame metadata.
- View frame details, including:
To save frames changes at any time, click SAVE (below the annotation list area).
Viewing FrameGroups
Viewing and editing frames in a FrameGroup is similar to viewing and editing SingleFrames. Click the FrameGroup in the Hyper-Dataset. In the frame viewer, select SingleFrame to view / modify from a dropdown list in the Current Source section.
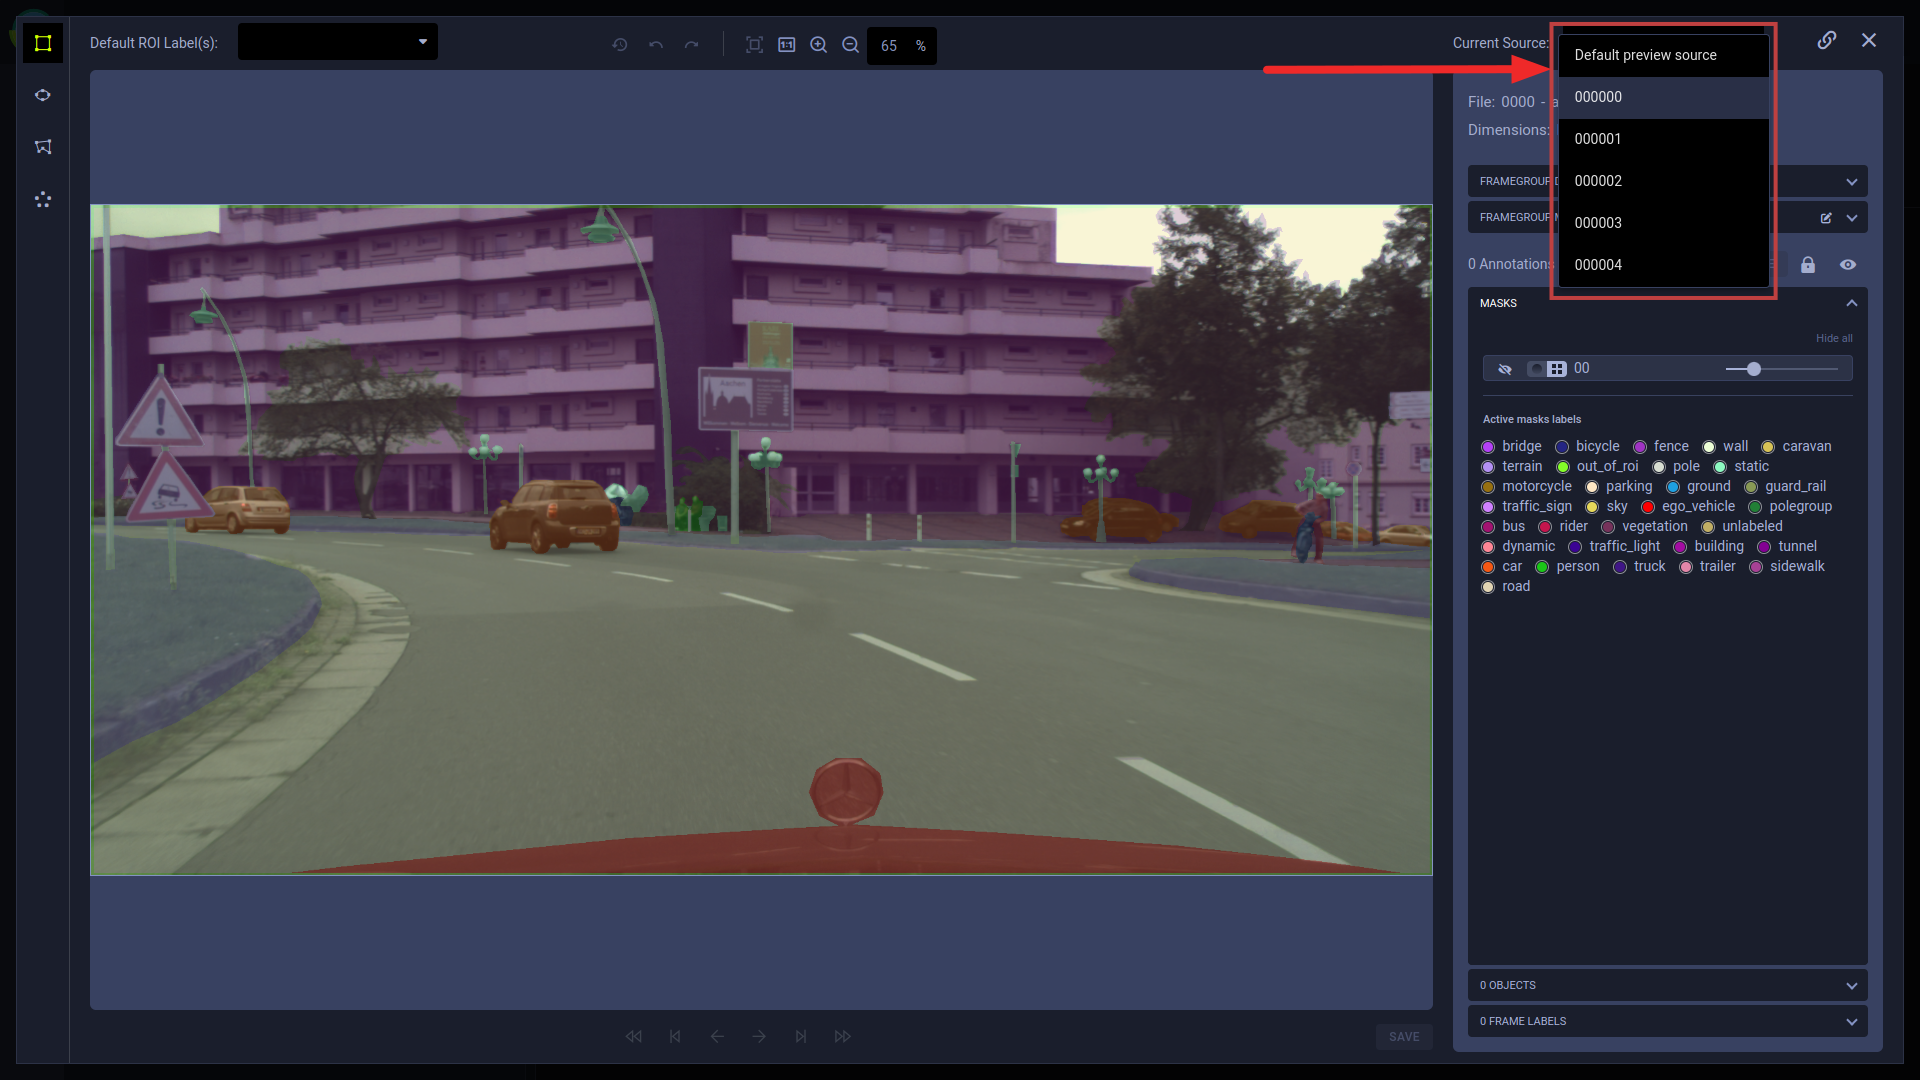
Masks
Use the MASKS panel to select which masks to apply over the frame.
To view / hide a specific mask, click ![]() .
In order to view all masks, click Show all / Hide all.
.
In order to view all masks, click Show all / Hide all.
Masks are applied over the image either by pixel segmentation or as an alpha channel:
 Pixel segmentation - Class labels are mapped onto the mask according to their pixel value definitions, and each class is assigned a unique color.
 Alpha channel - Mask pixel values are translated to transparency. Additionally, a color can be applied to the mask to help distinguish multiple masks. Click
  to select a color.
To adjust the transparency of a mask, use its opacity slider.
Labels
The Active mask labels section displays the color mapping of the mask labels. The panel presents labels only from masks that are currently displayed.
To modify a label's color and opacity:
- Click the colored circle next to the label
- Select a new color
- Adjust the opacity slider
- Click OK
Annotations
Adding Frame Objects (Regions of Interest)
Annotate images and video by labeling regions of interest in Dataset version frames. You can create new annotations and copy existing annotations.
Creating New Frame Objects
To draw a new annotation:
Click one of the following modes to choose what annotation to create:
 - Rectangle mode: Click then drag the cursor to create a rectangle annotation on the frame.
 - Ellipse mode: Click then drag the cursor to create an ellipse annotation on the frame.
 - Polygon mode: Each click sets polygon vertices on the frame. Click again on the initial vertex to close the polygon.
 - Key points mode: Each click adds a keypoint to the frame. After clicking the last keypoint, click
  or
or Enterto save the annotation. ClickEscto cancel the annotation.A new annotation is created.
In the newly created annotation, select or type-in a label(s). Click the circle in the label name to select a different label color.
You can use the Default ROI Label(s) list to automatically set labels to all new annotations.
Copying Frame Objects
You can copy existing annotations, and paste them to any frame of your choice:
- Click the annotation or bounded area in the frame.
- Click
 (copy annotation).
 - Navigate to the frame of your choice (you can remain in the same frame).
- Click PASTE. The new annotation appears in the same location as the one you copied. You can paste the annotation multiple times.
Copy all annotations in a frame by clicking the COPY ALL button.
Annotation Actions
The following table describes the actions that can be performed on existing annotations. The frame editor automatically
saves changes when you move to another frame using the frame navigation controls
(![]() ,
, ![]() ,
, ![]() ,
, ![]() ,
, ![]() ,
, ![]() ,
or the arrow keys on the keyboard). Closing the frame editor will prompt you to save any changes.
,
or the arrow keys on the keyboard). Closing the frame editor will prompt you to save any changes.
| Icon (when applicable) | Action | Description |
|---|---|---|
| Move annotation | Click on a bounded area and drag it. | |
| Resize annotation | Select an annotation, then click on a bounded area's vertex and drag it. | |
| Edit metadata | Hover over an annotation in the list and click the icon to open the edit window. Input the metadata dictionary in JSON format. This metadata is specific to the selected annotation, not the entire frame. | |
| Lock / Unlock annotation | Click the button on a specific annotation to make it uneditable. You can also click the button on top of the annotations list to lock all annotations in the frame. | |
| Delete annotation | Click the annotation or bounded area in the frame and then click the button to delete the annotation. | |
| Show/hide all annotations | Click the button to view the frame without annotations. When annotations are hidden, they can't be modified. | |
| Delete label | In the relevant annotation, click x on the label you want to remove. |
Frame Labels
You can add labels which describe the whole frame, with no specific coordinates.
To add frame labels:
- Expand the FRAME LABELS area (below OBJECTS)
- Click + Add new
- Enter a label(s)
Frame Metadata
To edit frame metadata:
- Expand the FRAME METADATA area
- Click edit
 which will open an editing window
 - Modify the metadata dictionary in JSON format