Dataset Management with CLI and SDK
In this tutorial, you are going to manage the CIFAR dataset with clearml-data CLI, and then use ClearML's Dataset
class to ingest the data.
Creating the Dataset
Downloading the Data
Before registering the CIFAR dataset with clearml-data, you need to obtain a local copy of it.
Execute this python script to download the data
from clearml import StorageManager

manager = StorageManager()
dataset_path = manager.get_local_copy(
    remote_url="https://www.cs.toronto.edu/~kriz/cifar-10-python.tar.gz"
)
# make sure to copy the printed value
print("COPY THIS DATASET PATH: {}".format(dataset_path))
Expected response:
COPY THIS DATASET PATH: ~/.clearml/cache/storage_manager/global/f2751d3a22ccb78db0e07874912b5c43.cifar-10-python_artifacts_archive_None
The script prints the path to the downloaded data. It will be needed later on.
Creating the Dataset
To create the dataset, execute the following command:
clearml-data create --project dataset_examples --name cifar_dataset
Expected response:
clearml-data - Dataset Management & Versioning CLI
Creating a new dataset:
New dataset created id=ee1c35f60f384e65bc800f42f0aca5ec
Where ee1c35f60f384e65bc800f42f0aca5ec is the dataset ID.
Adding Files
Add the downloaded files to the dataset:
clearml-data add --files <dataset_path>
where dataset_path is the path that was printed earlier, which denotes the location of the downloaded dataset.
There's no need to specify a dataset_id, since the clearml-data session stores it.
Finalizing the Dataset
Run the close command to upload the files (it'll be uploaded to ClearML Server by default):
clearml-data close
This command sets the dataset task's status to completed, so it will no longer be modifiable. This ensures future reproducibility.
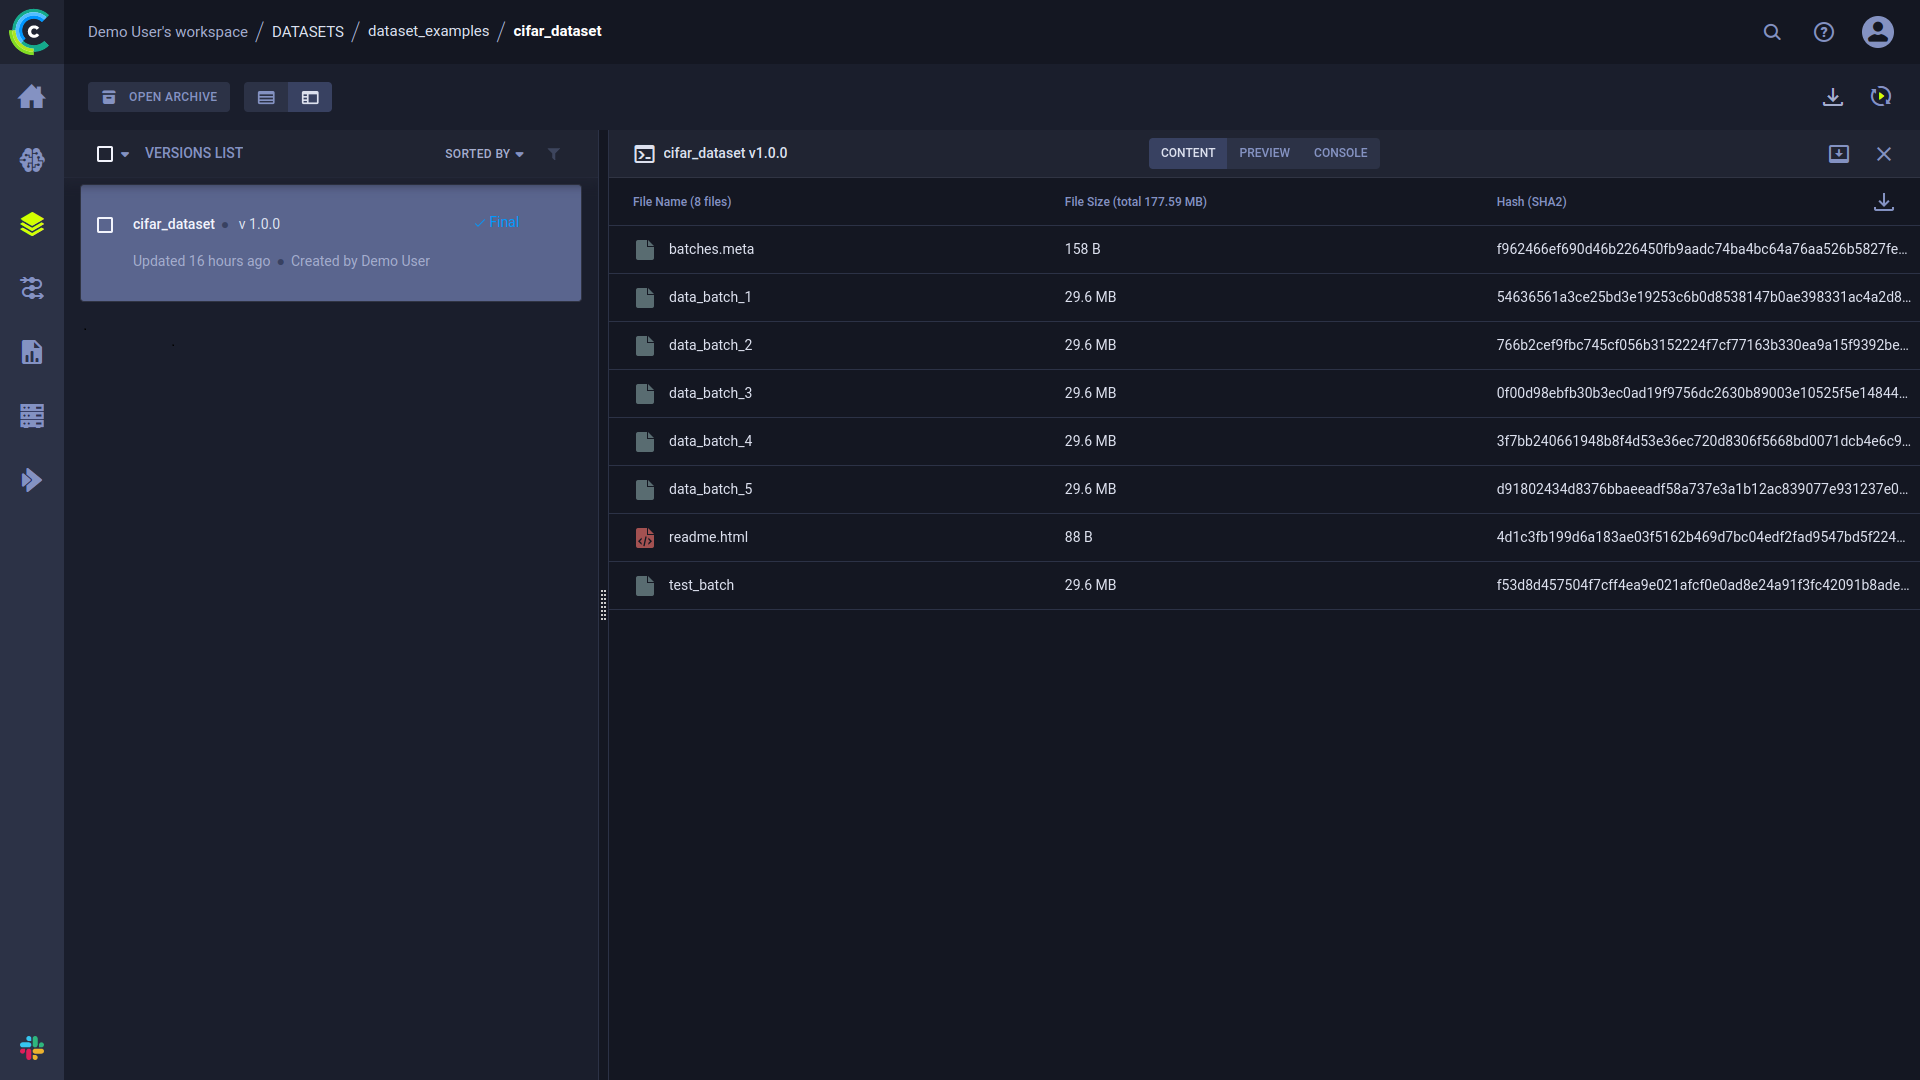
Information about the dataset can be viewed in the WebApp, in the dataset's details panel. In the panel's CONTENT tab, you can see a table summarizing version contents, including file names, file sizes, and hashes.
Using the Dataset
Now that you have a new dataset registered, you can consume it.
The data_ingestion.py example script demonstrates using the dataset within Python code.
dataset_name = "cifar_dataset"
dataset_project = "dataset_examples"

from clearml import Dataset

dataset_path = Dataset.get(
    dataset_name=dataset_name,
    dataset_project=dataset_project,
    alias="Cifar dataset"
).get_local_copy()

trainset = datasets.CIFAR10(
    root=dataset_path,
    train=True,
    download=False,
    transform=transform
)
In cases like this, where you use a dataset in a task, you can have the dataset's ID stored in the task's
hyperparameters. Passing alias=<dataset_alias_string> stores the dataset's ID in the
dataset_alias_string parameter in the experiment's CONFIGURATION > HYPERPARAMETERS > Datasets section. This way
you can easily track which dataset the task is using.
Dataset.get_local_copy returns a path to the cached,
downloaded dataset. Then the dataset path is input to PyTorch's datasets object.
The script then trains a neural network to classify images using the dataset created above.