Let’s use hyperparameter optimization on a real-life use-case using Sklearn and ClearML.
This is part 3 of our 3-part Hyperparameter Optimization series, if you haven’t read the previous 2 parts where we explain ClearML’s approach towards HPO, you can find them here and here.
In this blog post, we will focus on applying everything we learned to a “real world” use case.
The Use Case
For our toy use case, let’s take something we’ve been working on as part of a larger project (coming to our YouTube channel soon!)
The goal is to detect push-ups using a camera.
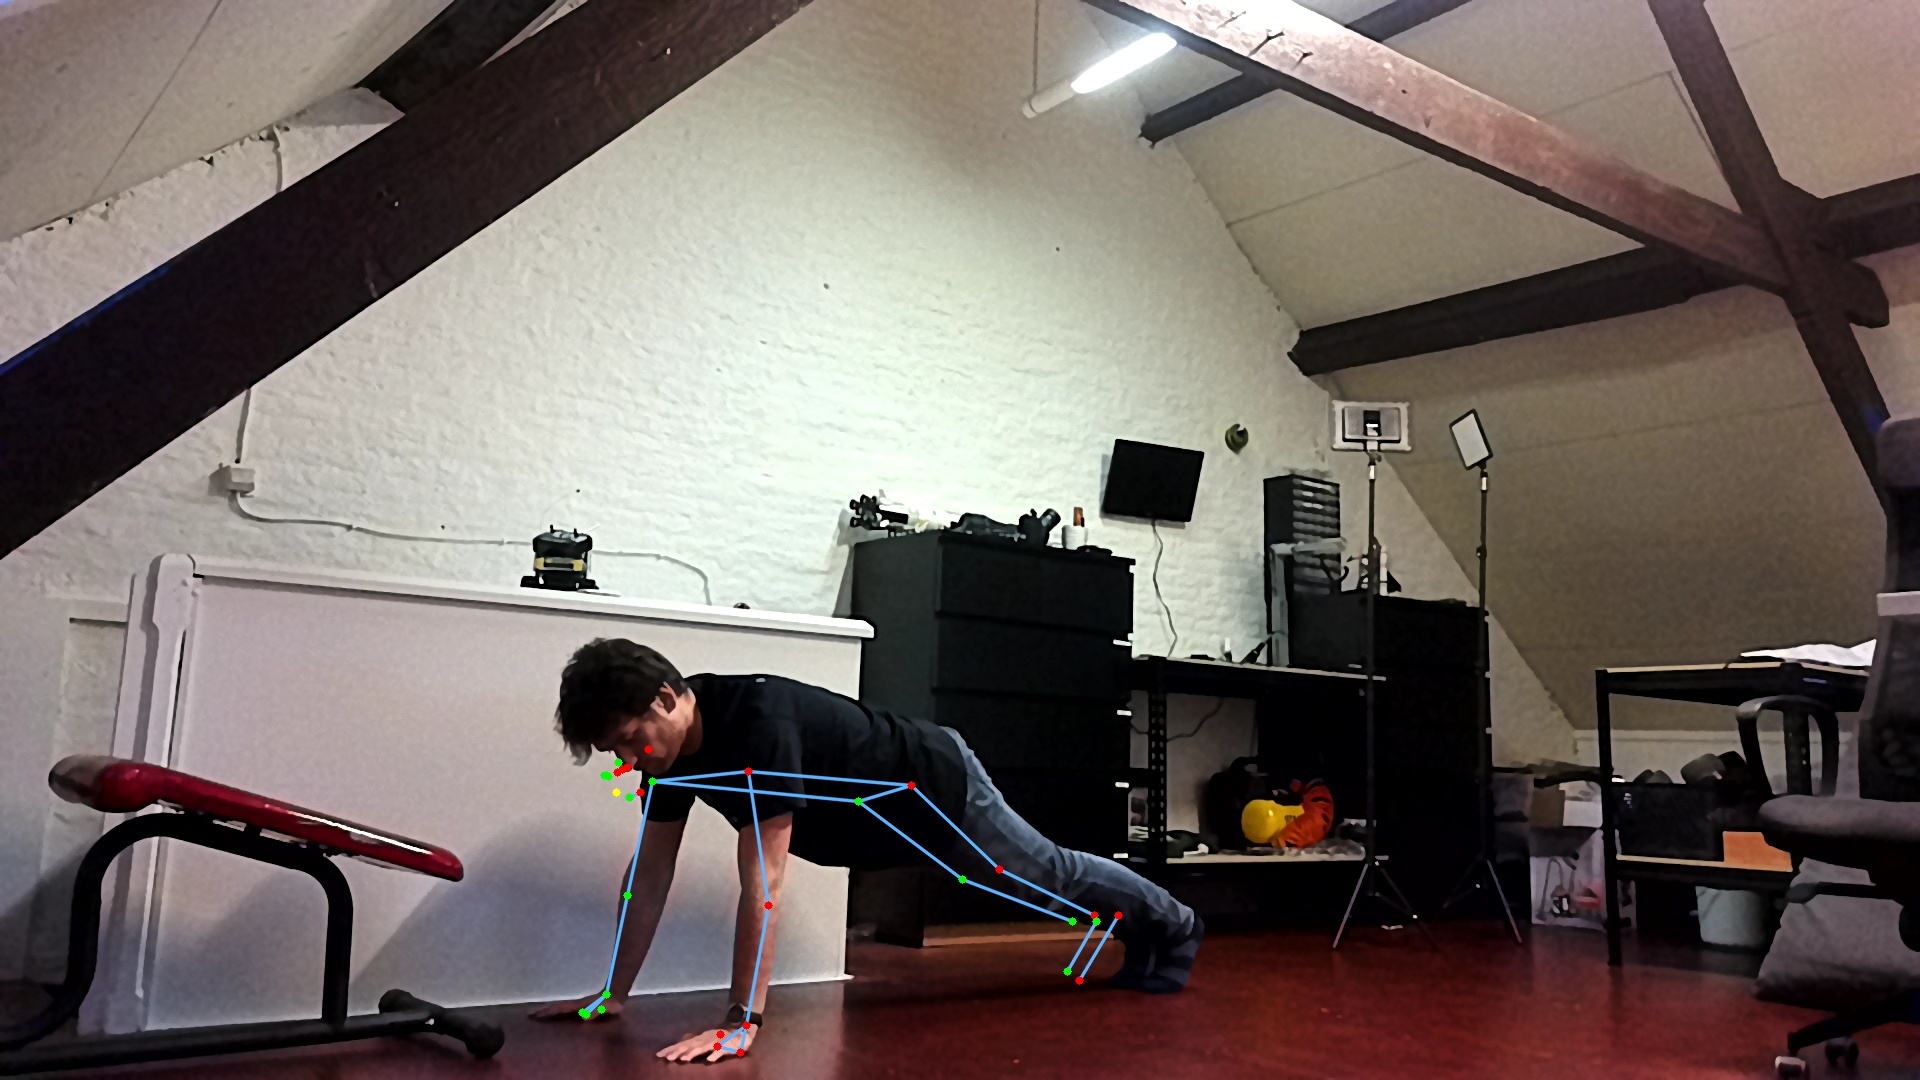
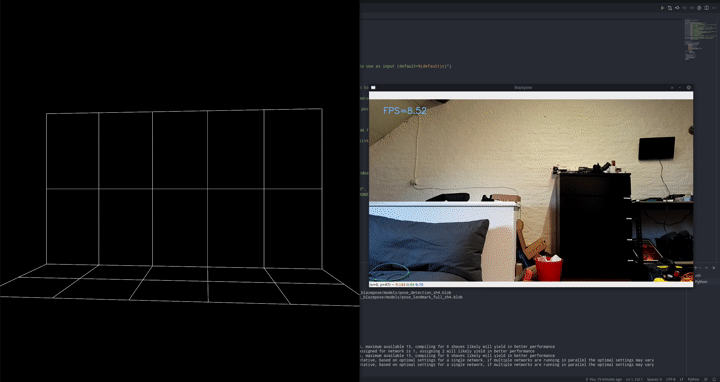
We employ a 2-stage approach, first preprocessing the images with an out of the box pose estimation model. In this case, we went for Google’s blazepose which is part of their mediapipe framework. We’re running this pose estimation model on-device using the DepthAI OAK-1 camera and accelerator. Since we’re using the model out of the box as a preprocessing step, this is the perfect setup!

That model will output landmarks, like a digital skeleton, of where it thinks a person’s limbs are in space. In turn, we can use these landmarks as inputs for a much simpler classifier that will tell us if we’re doing a push-up or a push-down currently.
The Training Process
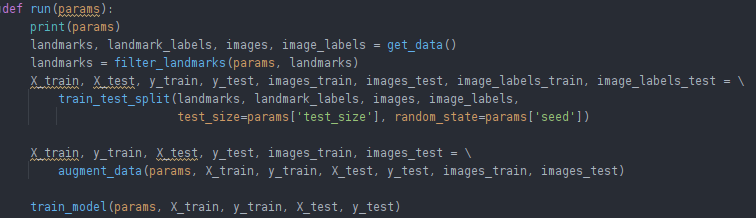
As we use a pre-trained model for the Pose Estimation, all we have to do is to train our Pose Classifier. The training process goes as follows:
- Get images of pushups in both up and down positions
- Run the pose estimator over those images to get the landmarks
- Select only the landmarks we’re interested in
- Split in training and test sets
- Augment the landmarks so we have more samples
- Train an Sklearn classifier to classify the landmarks as either up or down position
These steps roughly translate into this code snippet that controls the main flow:
In order to get our training process tracked by the ClearML experiment manager, we’ve done 3 things already.
1. Add the 2 magic lines
To enable ClearML experiment tracking, all we need to add are these 2 lines.
![]()
That’s it!
2. Connect our Hyperparameters
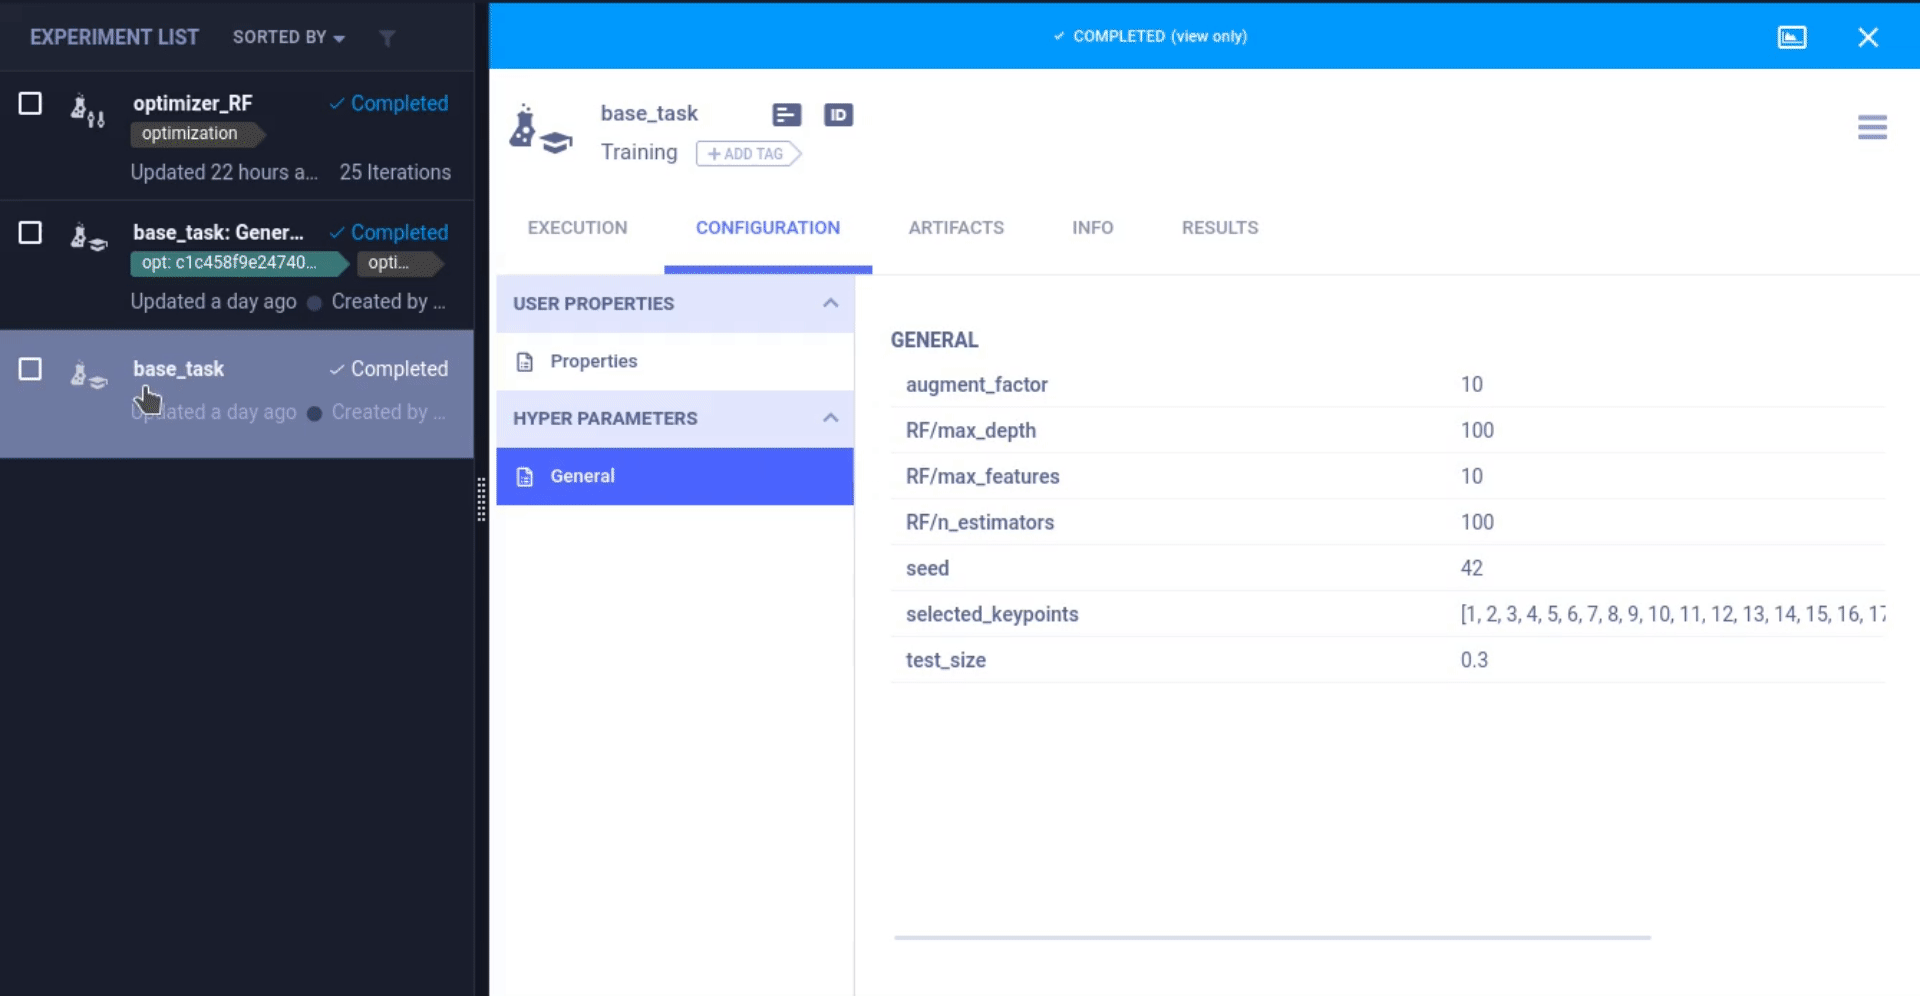
To keep things organized while experimenting, it is a good idea to keep as many parameters as possible in a centralized place. Most people do that by using either a `config.py` file, a (global) dictionary/object or by using command line arguments and parsing them.
In our case, we kept track of our hyperparameters (can be anything such as training vs test size, random seed to pick or specific model parameters) by putting them in a dictionary. Doing this kind of centralization is best practice when experimenting, even when not using an experiment manager.

To let ClearML know we’re using those parameters, all we have to do is call task.connect(dictionary). Now those parameters are logged and can be changed later on, which we will see down below.
3. Connect our scalars
Where the Hyperparameters are the inputs, our scalars are the outputs. Scalars can be any meaningful number, or metric, that we desire. Those get a special place in the ClearML ecosystem.
Most of the time what we want as our scalars are metrics that show us the performance of our models. Accuracy, F1 score, AUC scores, loss etc.
In this case, we’re training an sklearn classifier that we had already evaluated using the built-in sklearn function roc_auc_score. All we have to do to let ClearML know this is a scalar, is report it to the logger of our currently active task.

Note: sklearn classifiers don’t use iterations, so you can just set 0 as the iteration value.
Implementing Hyperparameter Optimization
Now that we have the inputs and outputs of our training task logged to the experiment manager, we can start messing around with different values of these parameters!
ClearML can change the hyperparameters of a previous task and rerun that task, this time injecting the new parameter values into the original code right at the task.connect line! From there on, the original parameters values have been changed.
This is where the power of decoupling parameters from code shines, we can slap an HPO optimizer like optuna or BOHB on top of our training script without even needing to change any code!
We only need to write a (separate) optimizer task:
- Initialize the clearml optimizer task
- Define a parameter range for the parameters we want to optimize
- Create the optimizer
- Run it locally or remotely and wait for it to finish
If you’re working with any of the paying tiers, you can also start this process straight from the UI and monitor it with a nice dashboard!
For a more detailed explanation of what settings to use, take a look at our previous blogpost! Here, we can choose either RandomSearch, because training a random forest really doesn’t take very long, or bayesian optimization for more certainty of reaching the best possible combination.
In this case, using Sklearn, using iterations as our bayesian optimization budget would be silly and early stopping is not possible anyway due to the Sklearn classifiers being oneshot training models. So we went for task limit by setting the total_max_jobs setting and leaving the other on None.
Making an sklearn boilerplate
Finally, we can extend this training script and the optimizer to be a little more generic, as a nice boilerplate for anyone to use.
We adapt our training script itself to allow for many different Sklearn classifiers
And add these parameters in our parameter dictionary
Now which classifier to use is a parameter in and of itself.
For the optimizer script, we can run an optimizer for each sklearn classifier separately (in order not to optimize parameters that are not used by the current classifier) and later compare their best scores using the WebUI compare functionality.
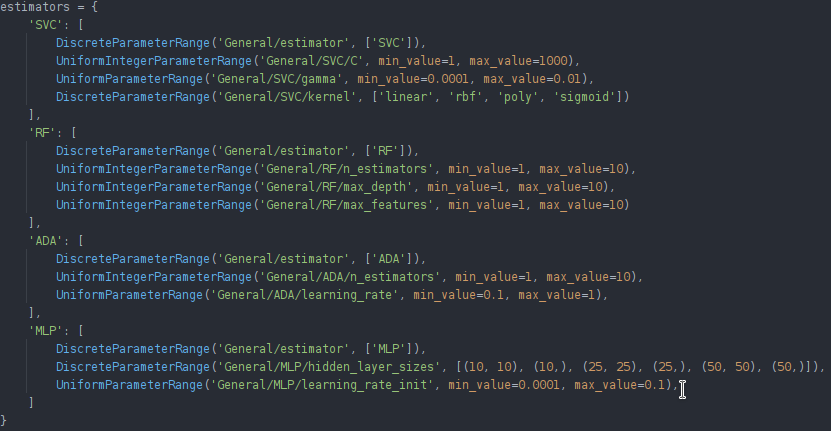
We can adapt our optimizer script by having multiple different parameter grids for the different classifiers and looping over them to start separate optimizers. You can find the code for these samples here.
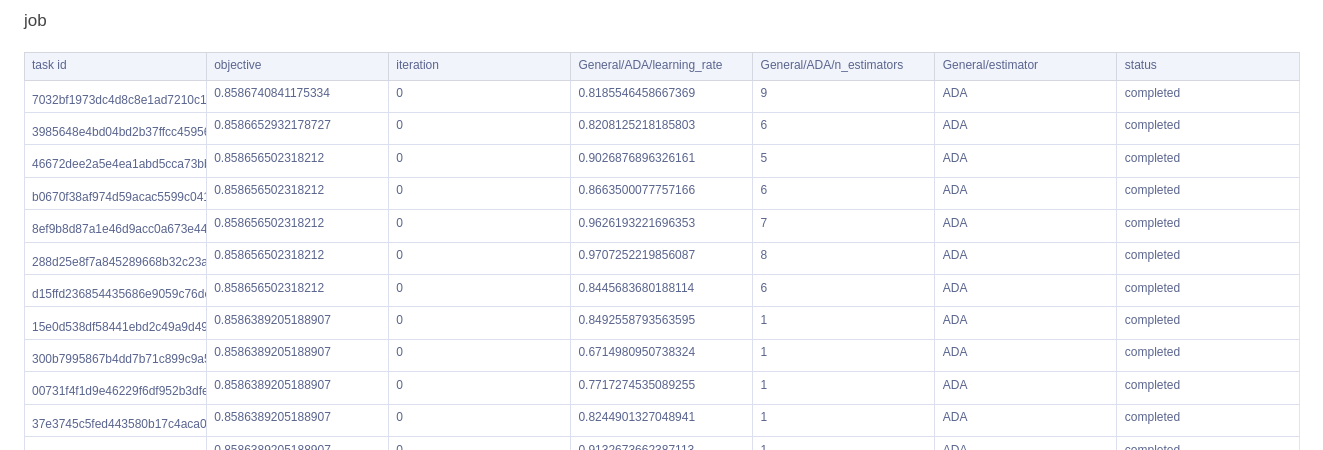
Reviewing the results
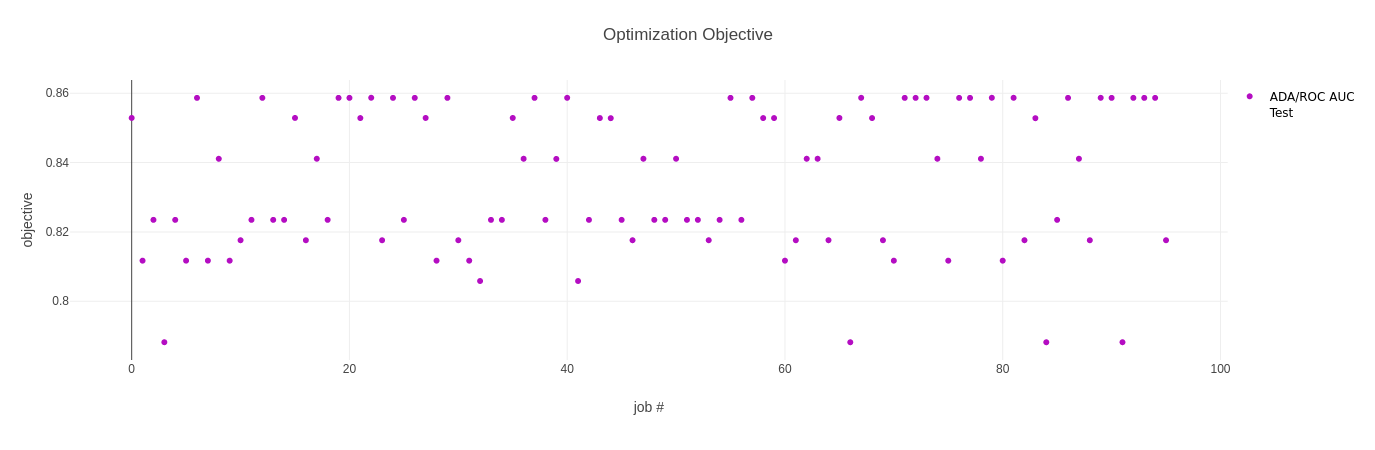
Back in the web UI, we can now analyse our results and compare the models. For every optimizer, we get 2 plots and a table.
The first plot shows the objective metric, in our case the ROC AUC score, for all the trials we ran.
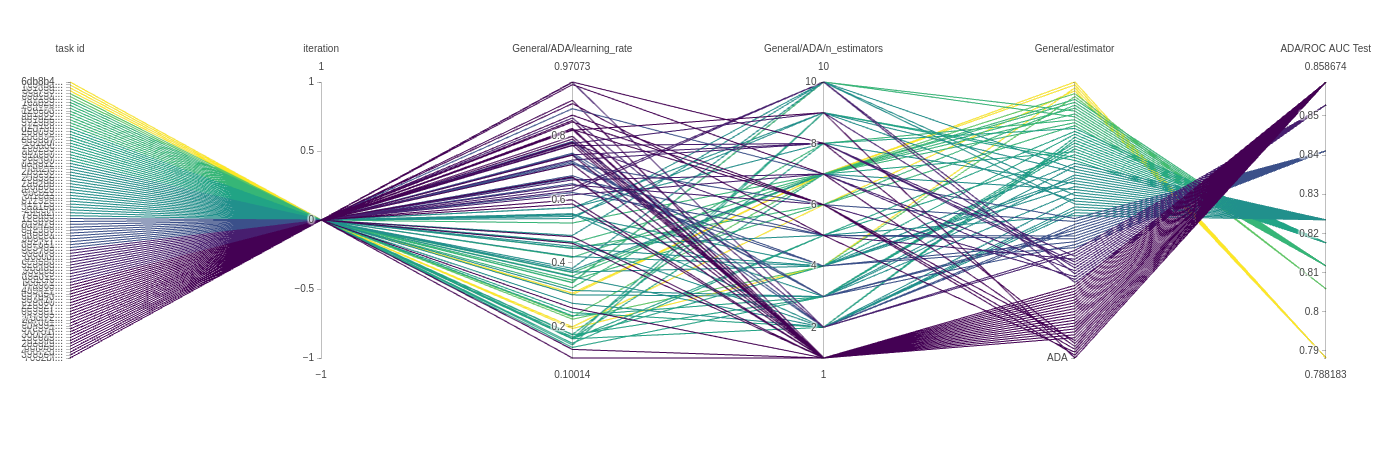
The next plot is a parallel coordinate chart. This can tell us a lot about our model and give us an intuition of how to set our parameters in the future. The plots below are from an ADAbooster classifier.
Every line is a single experiment run with a specific parameter combination. Each line has a color and can be read from left to right. Every vertical axis is a parameter for that experiment run.
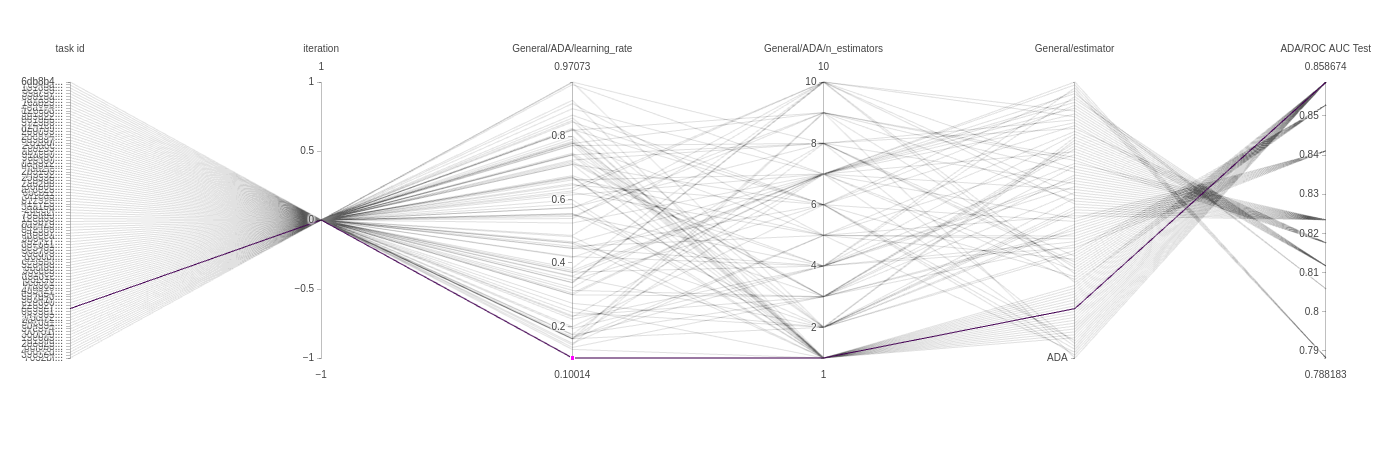
In our case, the iteration will always be 0, so all experiments pass by that point. But the next 2 vertical axes are more interesting. As we can see by the color, the majority of well performing trials use a high learning rate and only a single estimator, but there are models that get there using a much lower learning rate too, very interesting! Finally, because we also use the type of classifier itself as a parameter, we get another axis with only 1 value, so all the trials pass there in order.
Lastly, we have a handy table which gives us a quick overview of all our trials, sorted by highest objective metric.
We hope you can see the power of using the ClearML HPO functionality on top of the experiment tracking. Making it super easy to quickly start an HPO run when you’re already tracking your experiments with ClearML anyway. Take a look at our other HPO blogposts for more information about HPO itself and about when to use which settings.